So you’re thinking about installing it yourself.
Good on you. Plenty of handy homeowners can pull this off, and we’d rather you go in with the full picture than get talked into anything. A softener, a whole-home filter, and an under-sink RO system are three very different jobs, so pick the one you’re actually installing below.
Every manufacturer builds it a little differently. Treat this as the general process, then follow the manual that came with your specific unit for exact part names, torque specs, and settings.
The most involved of the threeInstalling a water softener yourself
+
Installing a water softener yourself
A softener ties into your main water line so every tap in the house gets treated. That's real plumbing, with a drain connection and a control valve to program, not a quick swap.
The process, start to finish
Test your water and size the system
Hardness, iron, and your home's flow rate all determine what size softener you actually need. Guess wrong and it either can't keep up with your household or you overpay for capacity you'll never use.
Check local code and pull a permit if it's required
Plenty of cities require a permit for work on your main line, along with specific rules for backflow prevention and drain connections. Skip this and you can end up redoing work to pass a later inspection, or running into it at resale.
Gather the right tools and parts
Pipe cutters and fittings matched to your pipe type, a bypass valve, drain tubing, thread tape, a level, and something to catch water when you open the line. Missing one part is usually a mid-project trip to the hardware store.
Shut off the water and pick the install location
It needs to sit near a drain, near an outlet, and on level ground with room to service it later. Location also decides whether your outdoor spigots end up getting softened water they don't need.
Cut into the main line and install a bypass valve
The bypass valve lets you route water around the softener for repairs, or to pull it out entirely, without shutting off the whole house. This is the step with no do-over: measure twice, and don't rush the fittings.
Connect the drain line and brine tank overflow
Softeners discharge wastewater every time they regenerate, and most code requires an air gap so that water can never siphon back into your clean supply. The brine tank needs its own overflow line too, routed somewhere it won't cause damage if it ever runs.
Wire the control head and program the valve
Most control valves need power nearby. Once it's wired in, you program your water's hardness number, your household size, and a regeneration schedule so the system knows when and how much to regenerate.
Start it up, purge the air, and check for leaks
Run it through a full regeneration cycle, bleed the air out of the lines, and check every fitting for drips over the next day before you call it done. Then actually test the water at the tap to confirm it's soft.
Tools and parts you’ll want on hand
- ✓ Pipe cutter and fittings matched to your pipe (copper, PEX, or CPVC)
- ✓ A bypass valve, if one isn't already built into the unit
- ✓ Flexible drain tubing and an air-gap fitting for code-compliant drainage
- ✓ Teflon tape or pipe dope for threaded connections
- ✓ A level, for both the unit and the drain line pitch
- ✓ A bucket or wet/dry vac for the water still in the line when you cut it (depending on location)
- ✓ A basic multimeter or outlet tester if the control head needs new power
- ✓ Your local permit application, if your city requires one for main-line work
Where this install usually goes sideways
Buying the wrong size
Too small for your water and household, and it can't keep up. You're back to hard water by dinnertime.
Leaks at the connections
A joint that looks fine on day one can weep behind the wall for weeks before you notice the damage.
Skipping the bypass valve
Without an easy way to route water around the unit, every future repair means shutting off the whole house.
No air gap on the drain
Without one, wastewater from a backed-up drain can potentially siphon back into your clean water. It's a small fitting plenty of DIY installs miss.
Skipping the permit or inspection
Some cities catch this later, during a remodel permit or a home sale. Fixing it after the fact usually costs more than doing it right the first time.
Voiding the warranty
Many manufacturers require professional install to honor the warranty. A DIY job can quietly cancel your coverage.
Two different jobs under one nameInstalling whole-home filtration yourself
+
Installing whole-home filtration yourself
“Whole-home filtration” covers two very different projects. A simple inline cartridge housing is a straightforward job. A backwashing carbon or sediment tank, the kind that handles chlorine, iron, or heavy sediment, follows nearly the same process as a water softener install. Know which one you have before you start.
The process, start to finish
Figure out which type you're installing
A single or twin cartridge housing just filters as water passes through; there's no drain and no programming. A backwashing tank cleans itself the way a softener does and needs the same drain and control-valve setup. The rest of these steps note where they differ.
Test your water and size the system
Sediment, chlorine, iron, and flow rate all affect what media and micron rating you actually need. The wrong choice either doesn't fix the problem or chokes your water pressure.
Check local code and permit requirements
A cartridge housing usually doesn't need a permit. A tank-style system tied into your main line often does, the same as a softener. Check before you start cutting pipe.
Shut off the water and pick the install location
Cartridge housings just need wall space and clearance to swap filters. Tank-style systems need the same clearance a softener does: near a drain, near an outlet, on level ground.
Cut into the main line and mount the housing or tank
A cartridge housing needs two unions and a mounting bracket. A backwashing tank needs a bypass valve plumbed in exactly like a softener, so it can be serviced without shutting off the whole house.
Connect the drain (tank-style systems only)
Cartridge filters don't drain anywhere. Backwashing tanks discharge wastewater during their cleaning cycle and need a drain line with a code-required air gap, same as a softener.
Wire and program the control valve (tank-style systems only)
If it backwashes, it needs power and a programmed cleaning schedule. Cartridge housings skip this step entirely.
Load the filter media or cartridges, start it up, and check for leaks
Flush the system, purge the air from the lines, and check every fitting for drips before you call it done. Then run water at a nearby tap and check for taste, smell, or cloudiness.
Tools and parts you’ll want on hand
- ✓ Pipe cutter and fittings matched to your pipe type
- ✓ A bypass valve, for tank-style backwashing systems
- ✓ Drain tubing and an air-gap fitting, for tank-style backwashing systems
- ✓ Teflon tape or pipe dope for threaded connections
- ✓ A level and a bracket or stand, for cartridge housings
- ✓ A bucket or wet/dry vac for the water still in the line when you cut it (depending on location)
- ✓ The correct replacement cartridges or media for your specific unit
- ✓ Your local permit application, if your city requires one for tank-style, main-line work
Where this install usually goes sideways
Wrong micron rating or media
A filter sized for sediment won't touch chlorine taste, and vice versa. Match the media to the actual problem in your water.
Leaks at the connections
A joint that looks fine on day one can weep behind the wall for weeks before you notice the damage.
Skipping the bypass valve on tank systems
Without one, every future filter change or repair means shutting off the whole house.
No air gap on a backwashing drain
Wastewater from a backed-up drain can potentially siphon back into your clean water. It's a small fitting plenty of DIY installs miss.
Undersized for your household's flow rate
Too small and it drops your water pressure at every tap when someone runs the shower and the dishwasher at once.
Forgetting a permit on a tank-style install
Cities that require permits for main-line work don't usually distinguish a filter tank from a softener. Check first.
The most approachable of the threeInstalling an under-sink RO system yourself
+
Installing an under-sink RO system yourself
An under-sink reverse osmosis system is the most approachable of the three. There's no main line involved, usually no permit, and almost everything happens inside one kitchen cabinet.
The process, start to finish
Check your under-sink space and cold water shutoff
You need room for the filter housings and a storage tank, plus an existing cold water shutoff valve to tap into. No shutoff valve means adding one first.
Turn off the cold water and tap in
Most kits include a saddle valve or angle-stop adapter that taps into the cold line feeding the sink. Double-check you're tapping cold, not hot: hot water can damage the membrane.
Decide on a faucet hole
Some sinks already have a spare hole for a soap dispenser or air gap you can reuse. If not, you're drilling a new one, and countertop material matters here (see mistakes below).
Mount the filter housings and membrane housing
These mount to the cabinet wall or floor with the included bracket, positioned so you can still get the cabinet doors open to change filters later.
Connect the drain line
RO systems send wastewater out through a small drain saddle clamped onto your sink drain pipe or garbage disposal. Some cities require an air-gap faucet specifically for this connection, so check local code.
Run the tubing
Push-fit poly tubing connects the shutoff valve, filter housings, membrane, storage tank, and faucet. Keep runs as straight as possible and avoid kinks behind the cabinet doors.
Install the RO faucet and pressurize the tank
Mount the faucet at the sink or through your new hole, then connect and pressurize the storage tank per the manual, usually with a bit of air pressure on the empty tank before water fills it.
Flush the system, then test the water
Run the new faucet until the tank fills and drains a few times to flush carbon fines and air from the lines before you drink from it. A TDS meter tells you whether it's actually performing to spec.
Tools and parts you’ll want on hand
- ✓ Adjustable wrench and screwdriver
- ✓ Tubing cutter for push-fit poly tubing
- ✓ A saddle valve or angle-stop adapter for the cold line
- ✓ A drain saddle valve or clamp
- ✓ A drill and hole saw (if drilling a new faucet hole)
- ✓ Teflon tape
- ✓ A TDS meter, to confirm performance once it's running
Where this install usually goes sideways
Tapping into the hot line by mistake
Hot water can damage the RO membrane. Confirm which line you're on before you cut in.
No air gap where it's required
Some cities require an air-gap faucet for the RO drain connection specifically. Check before you buy the faucet.
Kinked or pinched tubing
A tight bend behind the cabinet doors restricts flow and can look exactly like a failing membrane.
Skipping the initial flush
Air in the lines or carbon fines on first use can taste off and get mistaken for a bad system.
Overtightening push-fit fittings
These seal with a light push, not a wrench. Overtightening cracks the fitting and creates a slow leak.
Drilling stone countertops without checking first
Granite and quartz need a specific bit and a light touch. Guess wrong and you've cracked the counter, not just missed a hole.
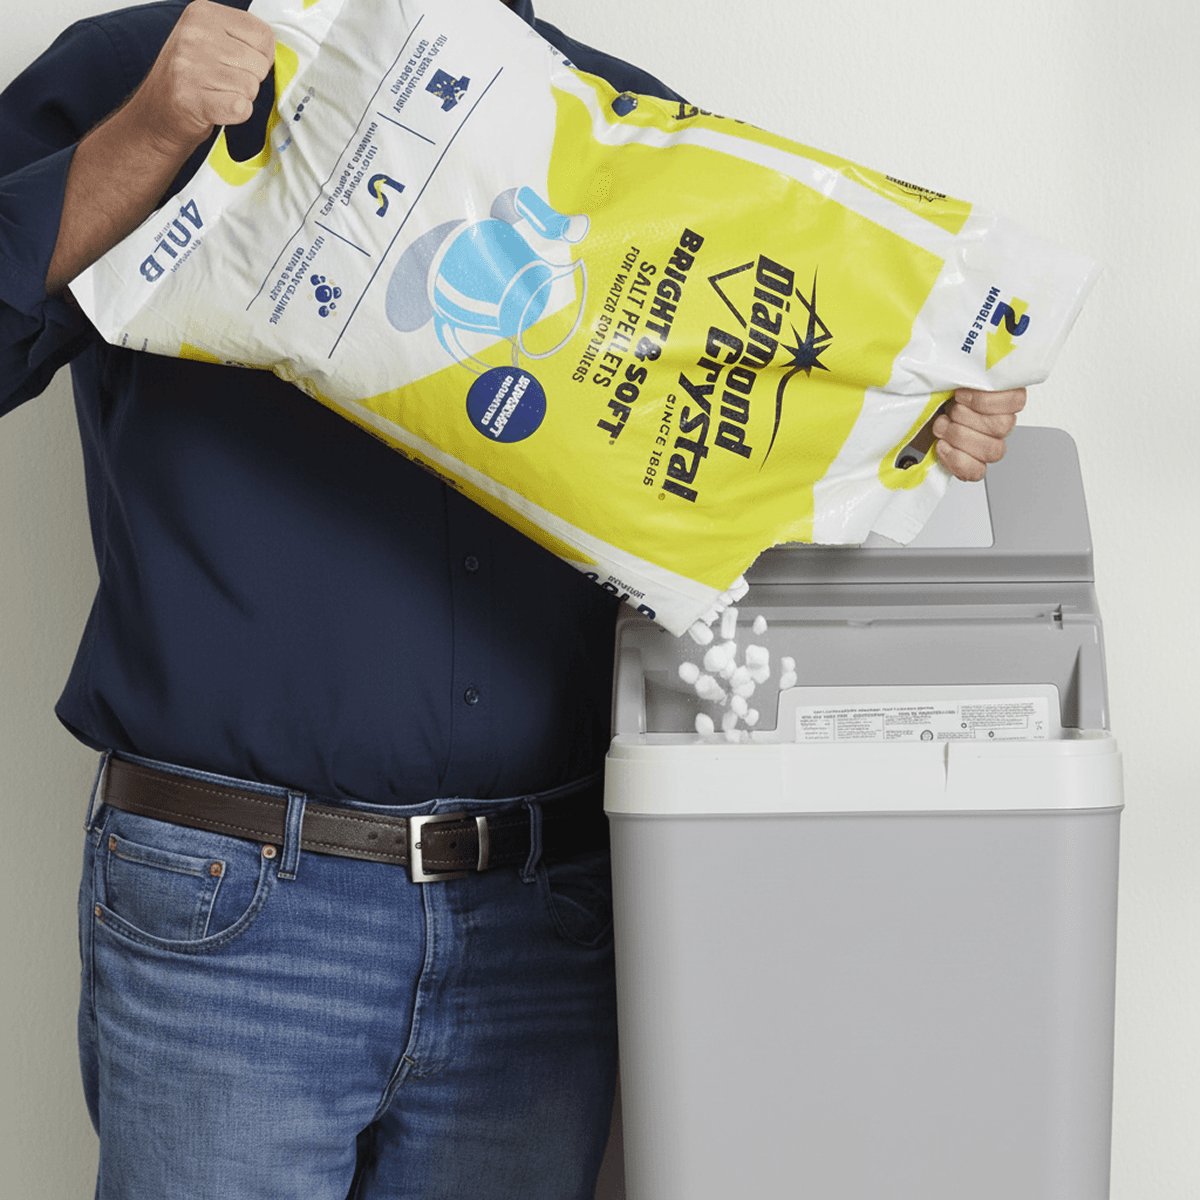
Upkeep comes with owning it regardless of who installs
A softener needs salt. A whole-home filter needs its cartridges or media changed on schedule. An RO system needs its filters and membrane replaced periodically. That’s true whether you install it yourself or have someone else do it. The install is a one-time project. Living with the system afterward is ongoing, and it’s yours to keep up with regardless of who did the install unless you have a separate service plan.
See our FAQ for what day-to-day upkeep looks like, or ask about a salt delivery and maintenance plan so you never haul the bags yourself.
The honest bottom line
An RO system under the sink is a genuinely approachable weekend project for most handy homeowners. A whole-home cartridge filter isn’t far behind. A softener or a backwashing filter tank is the biggest step up: real plumbing on your main line, with a permit and a drain to get right.
Whichever one you’re tackling, what you’re really paying a pro for is the part that’s easy to get wrong: the right size for your home, connections that don’t leak, a setup that’s easy to service, and a warranty that still counts. For a lot of folks, having it done once and done right is worth more than the weekend and the risk.
Not sure which way to go?
Start with a free water test. We’ll tell you what your home actually needs, and you can decide from there. If you’d rather DIY after that, no hard feelings, we’ll even point you at the right size.
Get your free water test
No pressure, no obligation. We test, we tell you straight, you decide. Serving Clovis, Fresno, and the surrounding Central Valley.
(559) 314-7655Certified systems · Licensed & insured